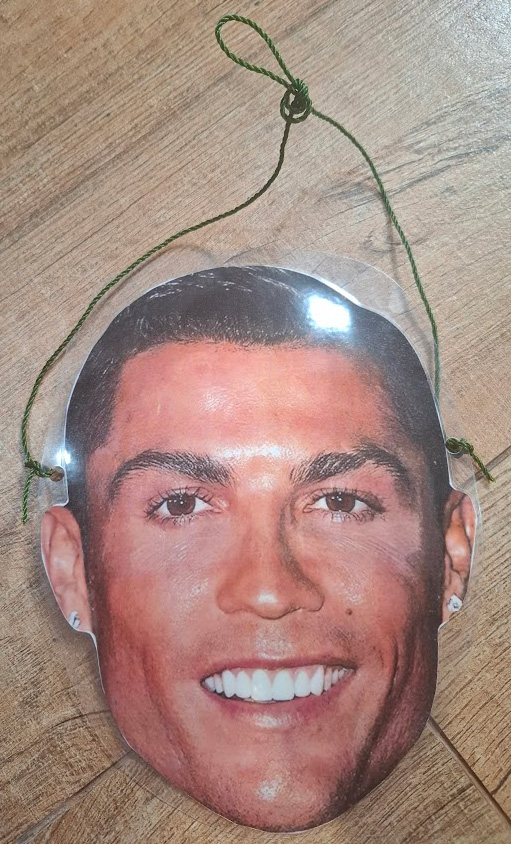
Wanting to make a Ronaldo mask for a football game or for Halloween? This method is cheap and quick, if you have access to a few tools. In particular:
- A Laminator
- A Colour Printer
- Laminating Sheet (We use 125 micron)
- Scissors
- Optional: A Hole Punch
- Optional: Elastic or String
- Alternatively: An Ice Cream Stick and Glue
Step 1: Print a Ronaldo Face
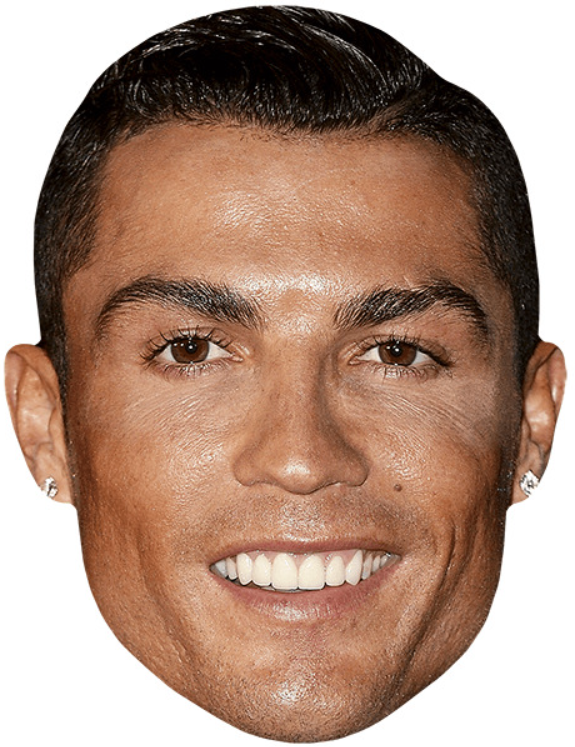 If in Google Chrome: right click the image above, then Open Image In New Tab. Go to the new tab with only the image, then press Ctrl-P to print. Adjust your print settings to be colour, and you may need to adjust the zoom (Scale: Custom eg. 110% or 120%) so that the face fills up a good portion of the page. If the face will be a good size when printed, then you can press print.
Step 2: Cut Out the Face
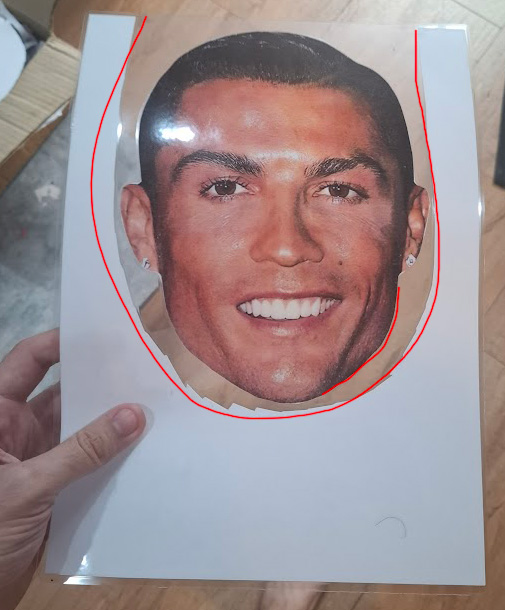
First cut carefully along the contours of his face. It's preferable to keep the outer white area of paper in 1 piece. Now, with your spare white piece, cut an extra margin of say 1cm around where the face was. Your laminator may say not to laminate an empty laminating sheet, so we will reuse this piece of paper to keep the laminating sheet mostly full of paper to minimize the chance of a laminating jam (laminate at your own risk).
Step 3: Insert the Face and White Paper Into the Laminating Sheet

Push the white paper to the top of the laminating sheet, and the face almost to the top of the sheet. Close the sheet to hold them in position. Pass it through the laminator.
Step 4: Cut Out the Laminated Face
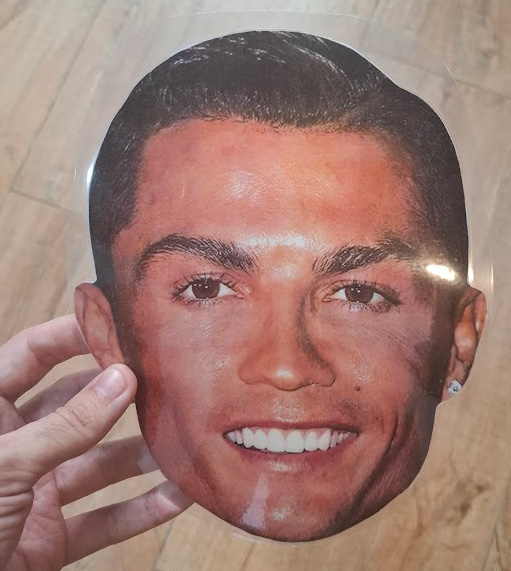
Cut out the face, leaving at least a few millimeters of excess laminate beside the face at all points (so that the laminate will not re-open, or water will not seep in). Tip: Leave some extra laminate above the ears, so we can later punch a hole and pass elastic through.
Step 5: Punch Holes
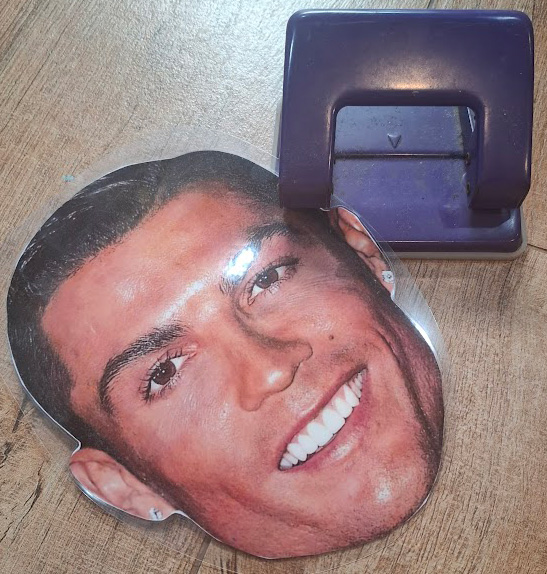
If you intend to attach elastic or string to fix it to your head, then you'll want to punch holes in the laminate above the ears.
Step 6: Attach String or Elastic
Put some string around your head to estimate how much you'll need. Add a bit of extra length. Cut your string, then tie it through the 2 holes. If wanting to shorten the string to tighten it, then tie an extra knot where the string would be behind your head. Tip: Elastic is preferable. Alternatively, you could glue an ice cream stick to the back of the mask, to hold it up to your face.
Step 7: Put It On!
It's ready to wear. You won't be able to see through the eye holes, so this mask would be better for taking photos with. If you want eye holes, then you could either cut them now, or make a new one and cut eye holes into the face before laminating.
Step 8: More? Messi?
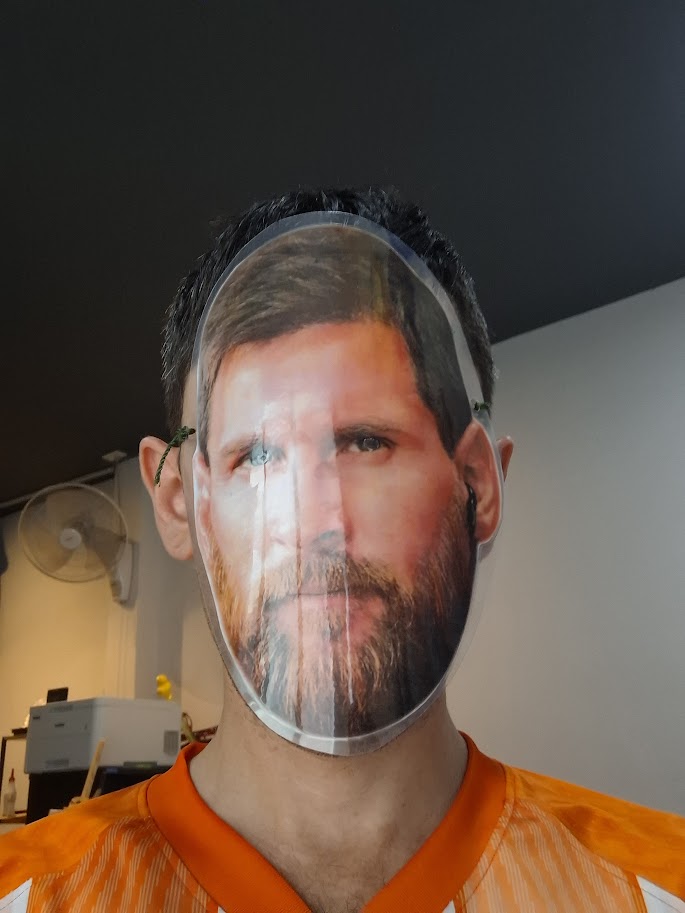
You can use this technique with any other suitable face images.